I have to give credit to Jim Wulf for pointing out that fender strut bolts on the 61-63 T-Bird are not painted. I am sure this applies to many other bolts on the car as well. I was in the middle of painting mine to match the shock towers and fender support struts when he posted a reply about them being a dull S2. So I looked at his procedure and decided to try it.
The Eastwood Company sells a product called a Metal Blackening Kit for $40 that includes a pint of solution that will blacken ferrous auto parts with a dull black finish that can be oiled or clear coated to appear like the original OEM parts coating. The refill bottle of their blackening solution is $17.99 plus shipping for a pint that will make two quarts or $36/gallon. A short Google search led me to an article in Wikipedia entitled Phosphate Conversion Coating. When phosphoric acid, or H3PO4, reacts with iron, the phosphate group precipitates onto the surface of the iron forming Fe3(PO4)2, or iron phosphate, and releases hydrogen gas. The iron phosphate is black in color but being only several microns thick, offers only some corrosion resistance and is commonly oiled to provide additional corrosion resistance. Since the oil will eventually dry out, it can instead be clear coated with a flat or satin clear coat for lasting protection. This process should not be confused with the "black oxide" process which uses chemical bases at elevated temperatures to grow a hard layer of Fe3O4 (magnatite) on the surface.
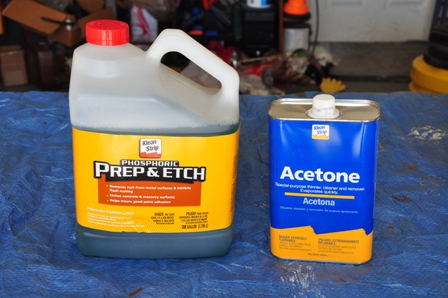
The chemicals to perform this process are readily available at Home Depot. Both items are in the paint department. Get one gallon of Kleen-Strip Phosphoric Prep and Etch ($15.47) and a quart ($6.97) or gallon of acetone. I prefer acetone because I am not sure what is in lacquer thinner. Remember the chemistry rule of thumb: like dissolves like. Acetone is dimethyl ketone, CH3COCH3, and is a polar molecule. Water, is also very polar and thus it is completely miscible with water, meaning it is 100% soluble. When a wet part is rinsed in acetone, the two mix and all of the water is dissolved from the part. It is also highly volatile (and flammable) and dries almost immediately.
OK, so you made it through my chemistry lesson. Let's get to the fun part.
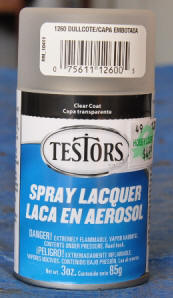
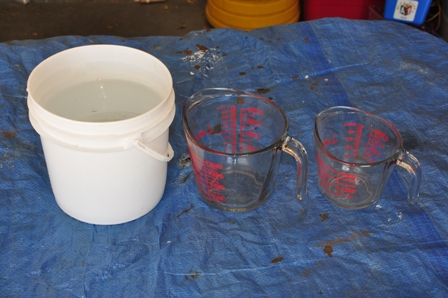
These are the items from Home Depot. Kleen-strip Phosphoric Prep & Etch and acetone. I decided on Testors Dull Cote #1260 for my final protective coat. It is fast drying lacquer and I have a lot of experience with it from my model rocketry hobby. It can be purchased at Hobby Lobby for $4.79. Also, depending on what you have around the house that your wife will let you have, I decided to just by a couple of Pyrex measuring cups to have in my garage just for this kind of thing. You'll need a bucket of water too. While I was out, I stopped at the thrift store and found this coffee warmer. This is optional, so I'll talk about it later.

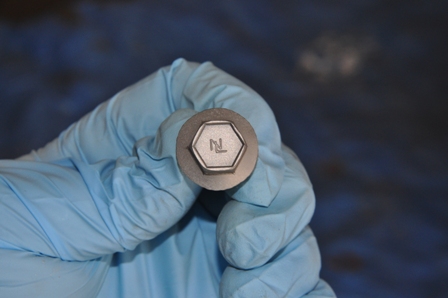
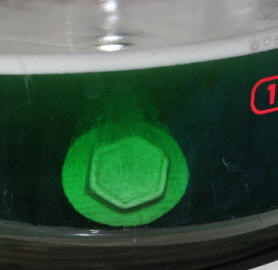
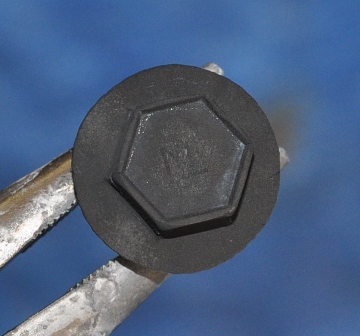
Let's follow the process with several bolts, removed from the shock tower on the front fender. I have sandblasted these with some rather coarse sand. I had to use a dental pick to clean the inner edge of the recesses in the top of the bolt. Notice the neat NL logo. This was obscured when I painted some of these bolts until I was corrected by Jim Wulf, which led me on this journey in the first place. On the right is the phosphoric etchant. This most likely differs from the Eastwood kit because it has surfactants in it, thus the bubbles. This is actually a benefit, since it will clean any remaining contaminants that may be on the part. I handle everything with nitrile gloves from Harbor Freight.
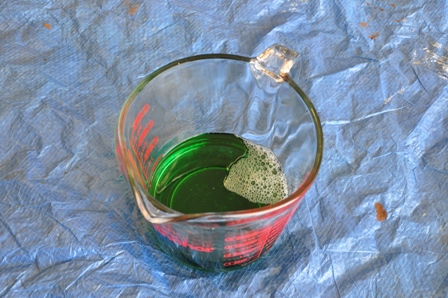
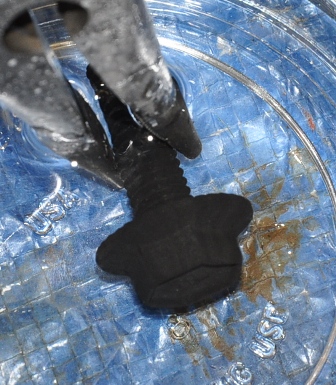
Now for the cool part. Drop the bolt in the phosphoric solution. You'll immediately see the hydrogen gas come off of the bolt.
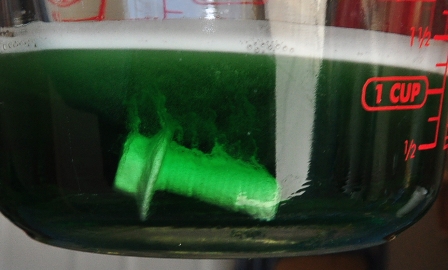
My garage was 58 degrees this morning and I thought the reaction was going a little slow as I wasn't seeing the results I wanted until about 15 minutes. That is where the coffee warmer came in. I put my Pyrex on it and let it warm. After the solution was warmed (I didn't measure the temperature), I was able to get my etch time down to about 2 minutes. You can see how much more vigorous the reaction is now, below left. On the right the bolt is ready to go into the water rinse. This was an absolute must in my case, as you can see all the hydrogen bubbles in the soap.

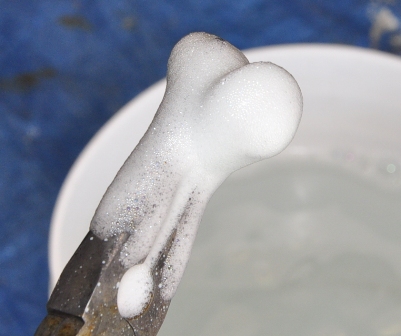
Following the water rinse, it went straight into the acetone rinse. A quick blast of air dries it immediately. You can see the heavy iron phosphate crystals on the surface. My etch was probably a bit too aggressive. The crystals also came off when touched. So I knew I wasn't ready for lacquer yet.
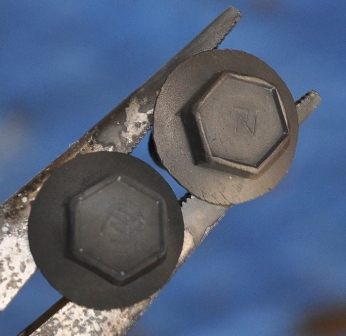
To get rid of the excess phosphate, I just dipped a microfiber towel in acetone and wiped off the excess crystals. Below, the bolts in the pliers compare this. On the right, I have just sprayed it with my Testors Dullcoat. What I forgot to do was to oil one of the bolts to see how that appeared. Oh yes, don't use a good pair of pliers for this operation. As you can see, the chrome gets etched off real fast.

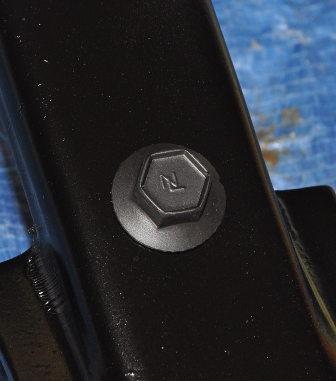
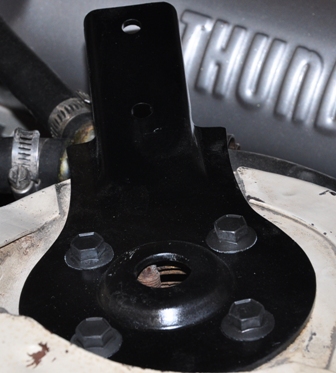
Finally, here is the bolt in the shock tower. You can see that it still is retaining a dull steel color compared to the black paint. On the right as installed in my cruddy engine compartment. The bolts did not suffer any finish damage from the socket.
While my 62 T-Bird will never be a show winner, this was a very fun project. Hey, isn't that what this hobby is all about? Thanks for looking, I hope this was informative. Tom Gugliotta (ABQTbird), Albuquerque, New Mexico.
You can email me at rt66tbird@comcast.net
Last updated: 2/24/2012